Configure Cisco Unity and User Voicemail box on Microsoft Office 365 (O365)
Many organisations are moving user mailboxes from on-premise exchange server to Microsoft Office 365 (O365) cloud service for many reasons. One huddle in moving user mailbox to O365 is their voicemails configured locally on on-premise exchange. Cisco provides O365 connector in Cisco Unity to allow Unity stores voicemails in O365 mailbox.
In this article we will explore how to configure Microsoft Office 365 and Cisco Unity O365 connector.
Steps to configure Office 365 connector on Cisco Unity:
- Create user account on Office 365 account for Cisco Unity
- Grant Admin and ApplicationImpersonation user role
- Create a new Unified Messaging Services on Cisco Unity
- Associate the User with the Unified Messaging Service for users migrated to Office 365
Create user account on Office 365 account for Cisco Unity
- Log in to the Office 365 portal with an Admin account.
- From the Admin drop-down list, choose Office 365.

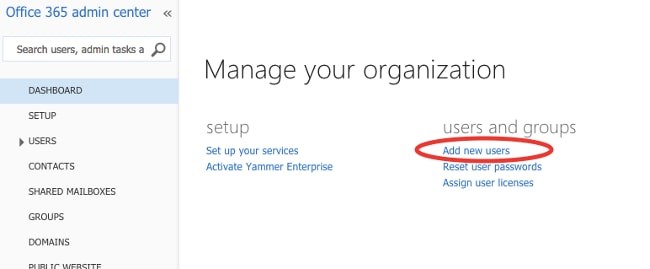
- On the Dashboard, click Add new users.
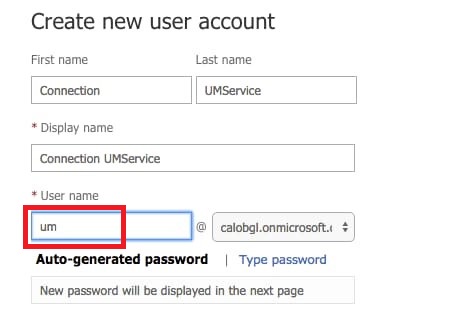
- Create a new User account. This is the Unified Messaging Service account used by CUC in order to access the User mailbox.
Grant Admin and ApplicationImpersonation user role
- Choose Users > Active Users in order to locate the User account.

- From the Admin drop-down list, choose Exchange in order to set the Application Impersonation rights.
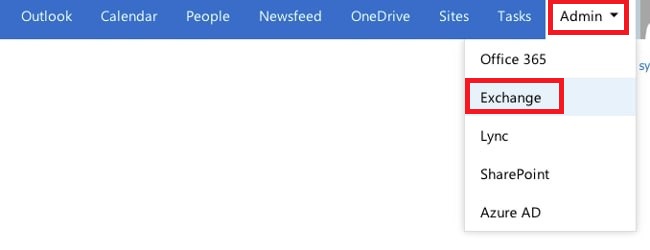
- In the Exchange Admin Center, choose Permissions. Click Admin Roles and then click the + symbol in order to add a new admin role group membership.
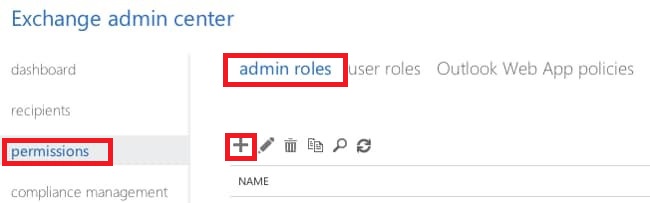
- Create the new Role Group.
- In the Name field, enter a name. Call it ApplicationImpersonationRG for ease of identification.
- In the Description field, enter a description. This is an optional field.
- In the Roles section, click the + symbol and choose ApplicationImpersonation.
- In the Members section, click the + symbol and choose um. This is the user created earlier for the Unified Messaging Service Account.
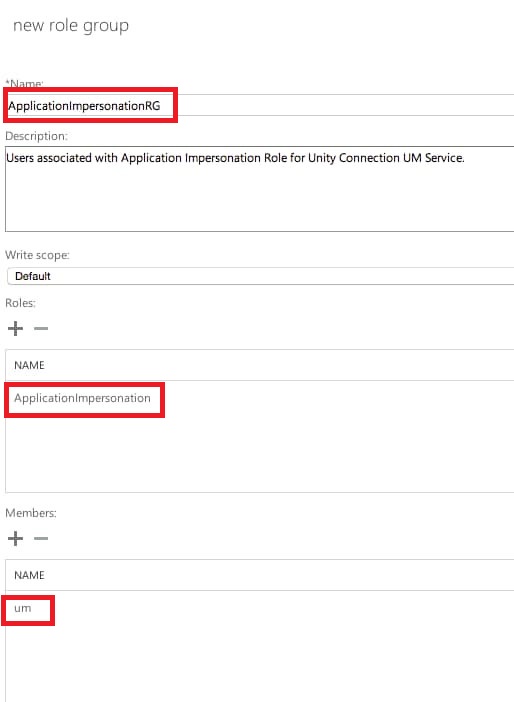
Create a new Unified Messaging Services on Cisco Unity
- Choose Unified Messaging > Unified Messaging Services. Click Add New.
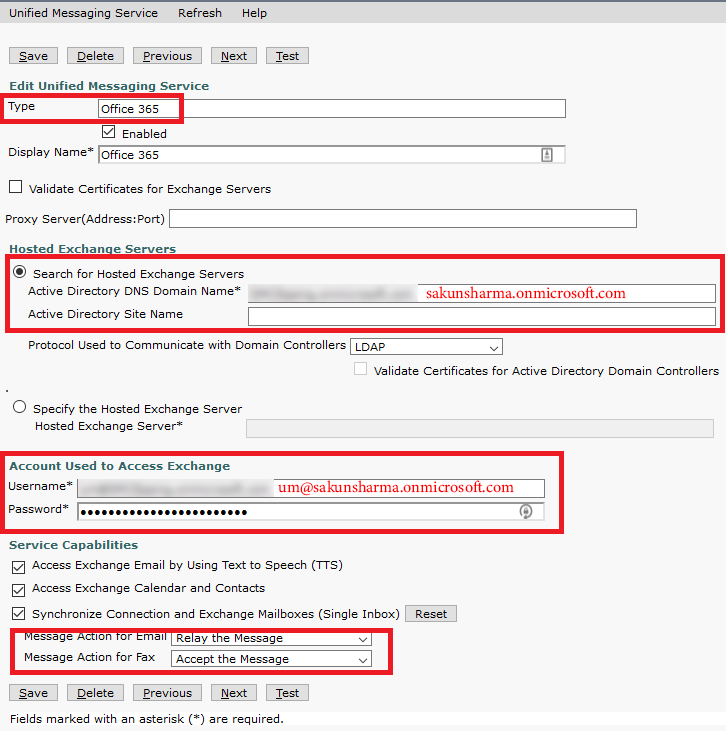
- In the Type field, select Office 365 from the drop-down list.
- In the Display Name field, enter a Display Name ‘Office 365’ in order to identify this UM Service.
- In the Proxy Server (Address:Port) field, leave it blank, if Unity have direct connection to the Internet, else configure the proxy server details.
- In the Active Directory DNS Domain Name field, enter the domain name provided by Office 365. See the Select the Active Directory DNS Domain Name section for more information.
For example: sakunsharma.onmicrosoft.com
Note – In the Hosted Exchange Servers section, choose Search for Hosted Exchange Servers. This is mandatory. ‘Specify the Hosted Exchange Server’ is not supported since the IP Address or the Hostname of the server in the cloud is not known.
- In the Account Used to Access Exchange section, enter the Unified Messaging Service Account information created previously in Step 1
- Leave the selections under Service Capabilities section as is and Save.
Associate the User with the Unified Messaging Service for users migrated to Office 365
- Choose Users > Users. Choose the User have mailbox on exchange online (O365).
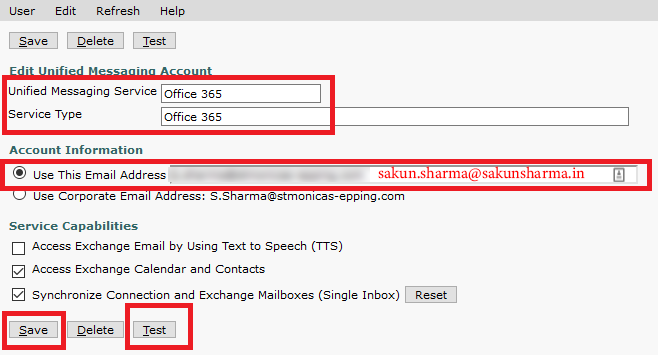
- Choose Edit > Unified Messaging Account. Click Add New.
- In the Unified Messaging Service field, select the newly created service ‘Office 365’ from the drop-down list.
- If a user already has Exchange Unified Messaging Service, you have to delete that before you can add Office 365 service.
- In the User This Email Address field, enter the email address of the Office 365 mailbox. This email address will be user@<OrganizationDomainName> – sakun.sharma@sakunsharma.in
- Click Save
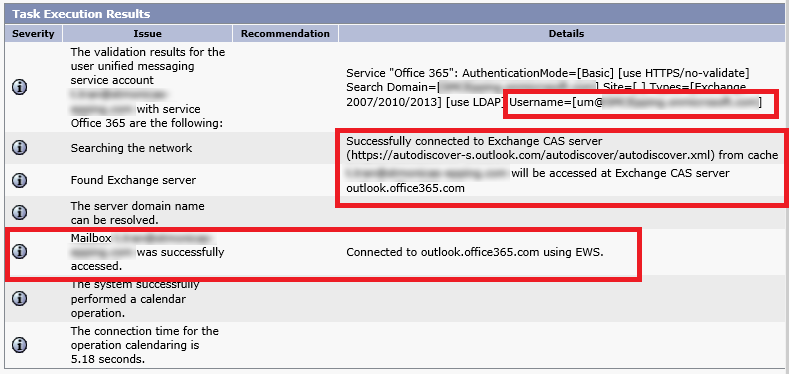
- Click Test to verify (works in IE, not tested in Chrome; in Firefox it will show blank page until final results, it will take a minute or so depending upon the configuration; also, popup should be allowed from this page)